Phase System Visuals
Phase System Visuals help growers compare plant condition, structure, stability, and readiness so the correct phase becomes easier to identify. These visuals support safer decisions by showing what belongs earlier, what belongs later, and why advancing too soon creates risk.
A plant should not be advanced because the grower wants movement. The next step should match demonstrated readiness, not impatience.
What Phase System Visuals Are For
Some plants look more advanced than they really are. Some look active but are not yet ready for escalation. This page helps you compare visual patterns so phase selection is based on evidence rather than assumption.
Compare the current condition
Use visuals to compare the plant’s present condition, not its potential, not its variety, and not your goal for it.
See readiness more clearly
Readiness is easier to judge when structure, rhythm, stability, and recovery capacity can be compared side by side.
Choose the safer boundary
When the comparison is unclear, the earlier phase is usually the safer choice because it protects the plant from premature escalation.
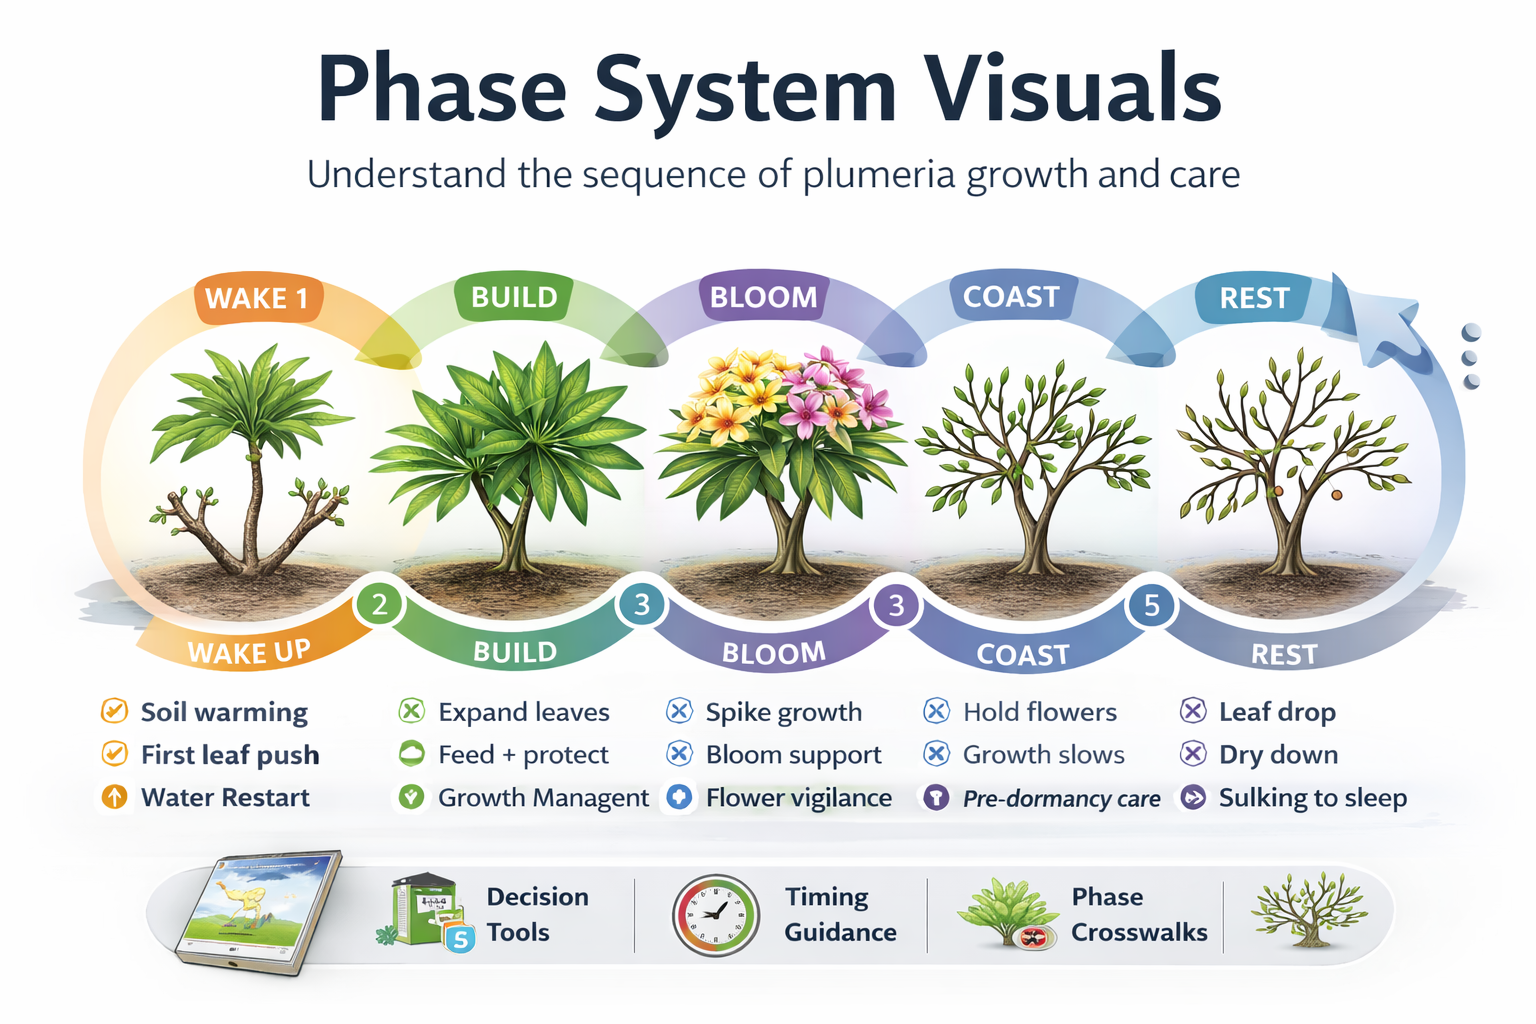
Compare the Five Phases
Each phase represents a different level of plant stability, response, structure, and capacity. The visuals on this page should help you compare what is true now before deciding what comes next.
Phase I — Foundation
Best for unstable plants, newly rooted plants, recovery situations, unclear diagnosis, and growers who need the safest starting boundary.
Phase II — Establishment
Best for plants building root strength, rhythm, and repeatable response after instability or recent rooting.
Phase III — Growth & Structure
Best for plants with stable response that are ready for framework, branch development, and stronger structural planning.
Phase IV — Bloom Systems
Best for plants with enough structure and stability to support bloom timing, demand, and flowering performance.
Phase V — Mastery, Diagnostics & Recovery
Best for evidence-first troubleshooting, recovery logic, diagnostic comparison, and higher-level intervention boundaries.
How to Compare Readiness
Use the visual comparisons to move through the three most important questions before making a larger decision.
1. Identify the current phase
Compare the plant’s condition, structure, growth rhythm, and recent history against the visual phase examples to determine where it actually belongs right now.
2. Check whether readiness exists
Use the visual cues to determine whether the plant is truly ready to move forward, or whether it still needs more stability, more structure, or more time.
3. Choose the correct next step
Once the phase is clearer, feeding, pruning, treatment, bloom support, and recovery choices become easier to sequence correctly.
Common Misreads
Visual comparison matters because several conditions can look “active” without being truly ready for escalation.
Activity is not always readiness
A plant can show movement, leaves, or surface activity without having the stability required for bigger structural, nutritional, or bloom decisions.
Structure does not replace stability
A larger plant is not automatically a later-phase plant. Stability and repeatable response matter more than size alone.
Ambition can distort phase judgment
Growers often want a plant to be further along than it really is. Visual comparison helps reduce that bias.
When the visual evidence is mixed, stay earlier. Earlier phases protect the plant while the picture becomes clearer.
Recommended Page Sections
If you expand this page over time, these content blocks will help keep the visuals practical, teachable, and easy to navigate.
Full-system diagrams
Use simple visual maps to show how the phases connect across the larger Plumeria Way system.
Readiness comparison panels
Include side-by-side visual comparisons showing what true readiness looks like versus activity that is not yet ready for escalation.
Decision support links
Link each phase visual group to related books, pages, or services so the visuals support real next-step decisions.
Related Resources
Phase visuals work best when they connect to the broader structure of learning, observation, and field-based decision-making.
Phases
Explore the full phase structure to understand how progression works and what each phase is designed to support.
Find My Phase
Use the guided phase finder when you want help identifying the safest place to begin.
Field Books
Use Field Books to support the phase-based decisions you make after the visual comparison becomes clearer.
Use these visuals to identify the current phase, confirm readiness, and choose the smallest safe next step inside the correct boundary.
