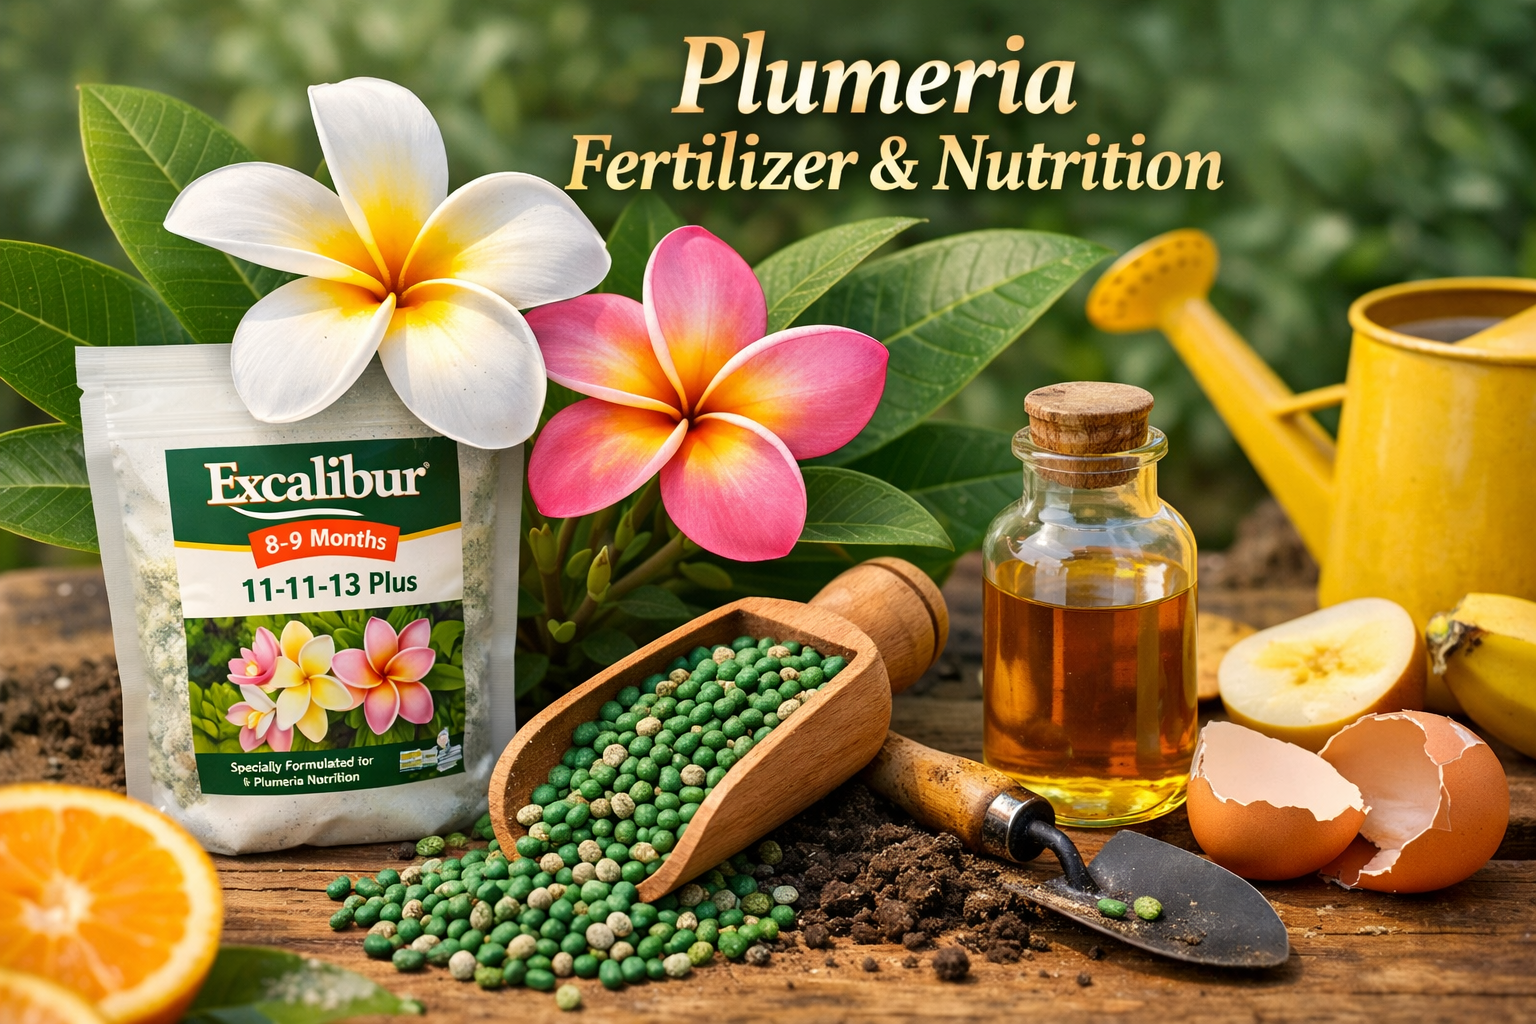
Fertilizer & Nutrition Learning Path
The Fertilizer & Nutrition Learning Path helps growers understand feeding as a controlled system, not a shortcut. It is designed to improve timing, reduce salt buildup risk, match inputs to root capacity, and keep nutrition decisions aligned with plant stability and Phase position.
Fertilizer should match plant capacity, root condition, and season. More fertilizer does not create readiness.
What This Path Does
Many nutrition mistakes come from treating fertilizer like a rescue tool, a bloom shortcut, or a substitute for stable roots and good growing conditions. This path helps replace push-feeding with better timing, better restraint, and better understanding of what the plant can actually use.
Best for
Growers who want clearer feeding logic, better seasonal timing, safer fertilizer choices, and a stronger understanding of nutrient discipline.
Main outcomes
Better fertilizer timing, fewer overfeeding mistakes, less salt accumulation pressure, and more stable plant performance over time.
What it avoids
Overfeeding, bloom-chasing, root stress from excess inputs, and confusing fertilizer intensity with plant progress.
Feeding cannot fix instability below it. If the roots, watering rhythm, or root-zone chemistry are off, stronger fertilizer usually adds risk instead of solving the problem.
The Fertilizer & Nutrition Sequence
This path works best when followed in order. Each step helps feeding decisions become safer, clearer, and more repeatable.
Step 1 — Choose the safest starting point
Start by deciding whether the plant is stable enough for nutrition-focused decisions now or whether the safer answer is an earlier stabilization route.
Step 2 — Build establishment discipline
Step 3 — Support bloom only from readiness
Who This Path Helps Most
The Fertilizer & Nutrition Path is for growers who want feeding decisions to become more disciplined instead of more reactive.
Growers unsure what to feed
Best for growers trying to choose between product types, feeding intensity, and seasonal timing without overcorrecting.
Growers worried about buildup or burn
Best for growers who want to reduce salt accumulation pressure, nutrient mistakes, and root-zone stress.
Growers trying to match feeding to the plant
Best for growers who want fertilizer strategy to follow plant readiness rather than chasing faster results.
What This Path Is Not
The Fertilizer & Nutrition Path is a feeding-discipline route, but it is not permission to push the plant harder.
Not a shortcut to bloom
Bloom performance depends on stability, structure, and readiness, not just on stronger feeding.
Not proof that more is better
More frequent or stronger feeding can increase risk when roots, media, or plant timing are not aligned.
Not the purchase page
This page helps organize the route. The Course Guide explains the course. The product page is where purchase happens.
Your Next Step
This path helps you organize safer fertilizer and nutrition learning. From here, move to the Phase page or Course Guide that best matches what the plant can actually support now.
Use it to improve timing, reduce avoidable mistakes, and match fertilizer choices to what the plant and roots can actually support.